How To: Create a Home Inventory for Insurance Claims

Nobody wants to think about needing this, but a home inventory is one of the few pieces of prep that can genuinely shorten and improve the outcome of an insurance claim after a disaster. Adjusters work from documentation, and "I'm pretty sure we had a nice TV" does not hold up as well as a photo and a receipt.
1. Go room by room, not item by item from memory. Walking through each room with your phone catches things you would otherwise forget, like the contents of a closet or garage shelving.
2. Take video, not just photos. A slow walkthrough narrating what you see covers more ground faster than individual photos, and captures context photos miss.
3. Open drawers and cabinets. The most commonly forgotten items are the ones tucked away, not the furniture sitting in plain sight.
4. Note approximate purchase dates and values for big-ticket items. Electronics, appliances, and furniture particularly. Exact receipts are ideal but not always realistic; a reasonable estimate is still useful.
5. Keep receipts for major purchases going forward. Photograph them immediately rather than trying to track down a folder of paper receipts after the fact.
6. Store the inventory somewhere outside the house. Cloud storage, email to yourself, or a copy with a family member elsewhere. An inventory stored only on a device inside the house does not survive the disaster it was meant to help with.
7. Update it after any major purchase. Even a rough annual refresh is better than an inventory that is five years out of date.
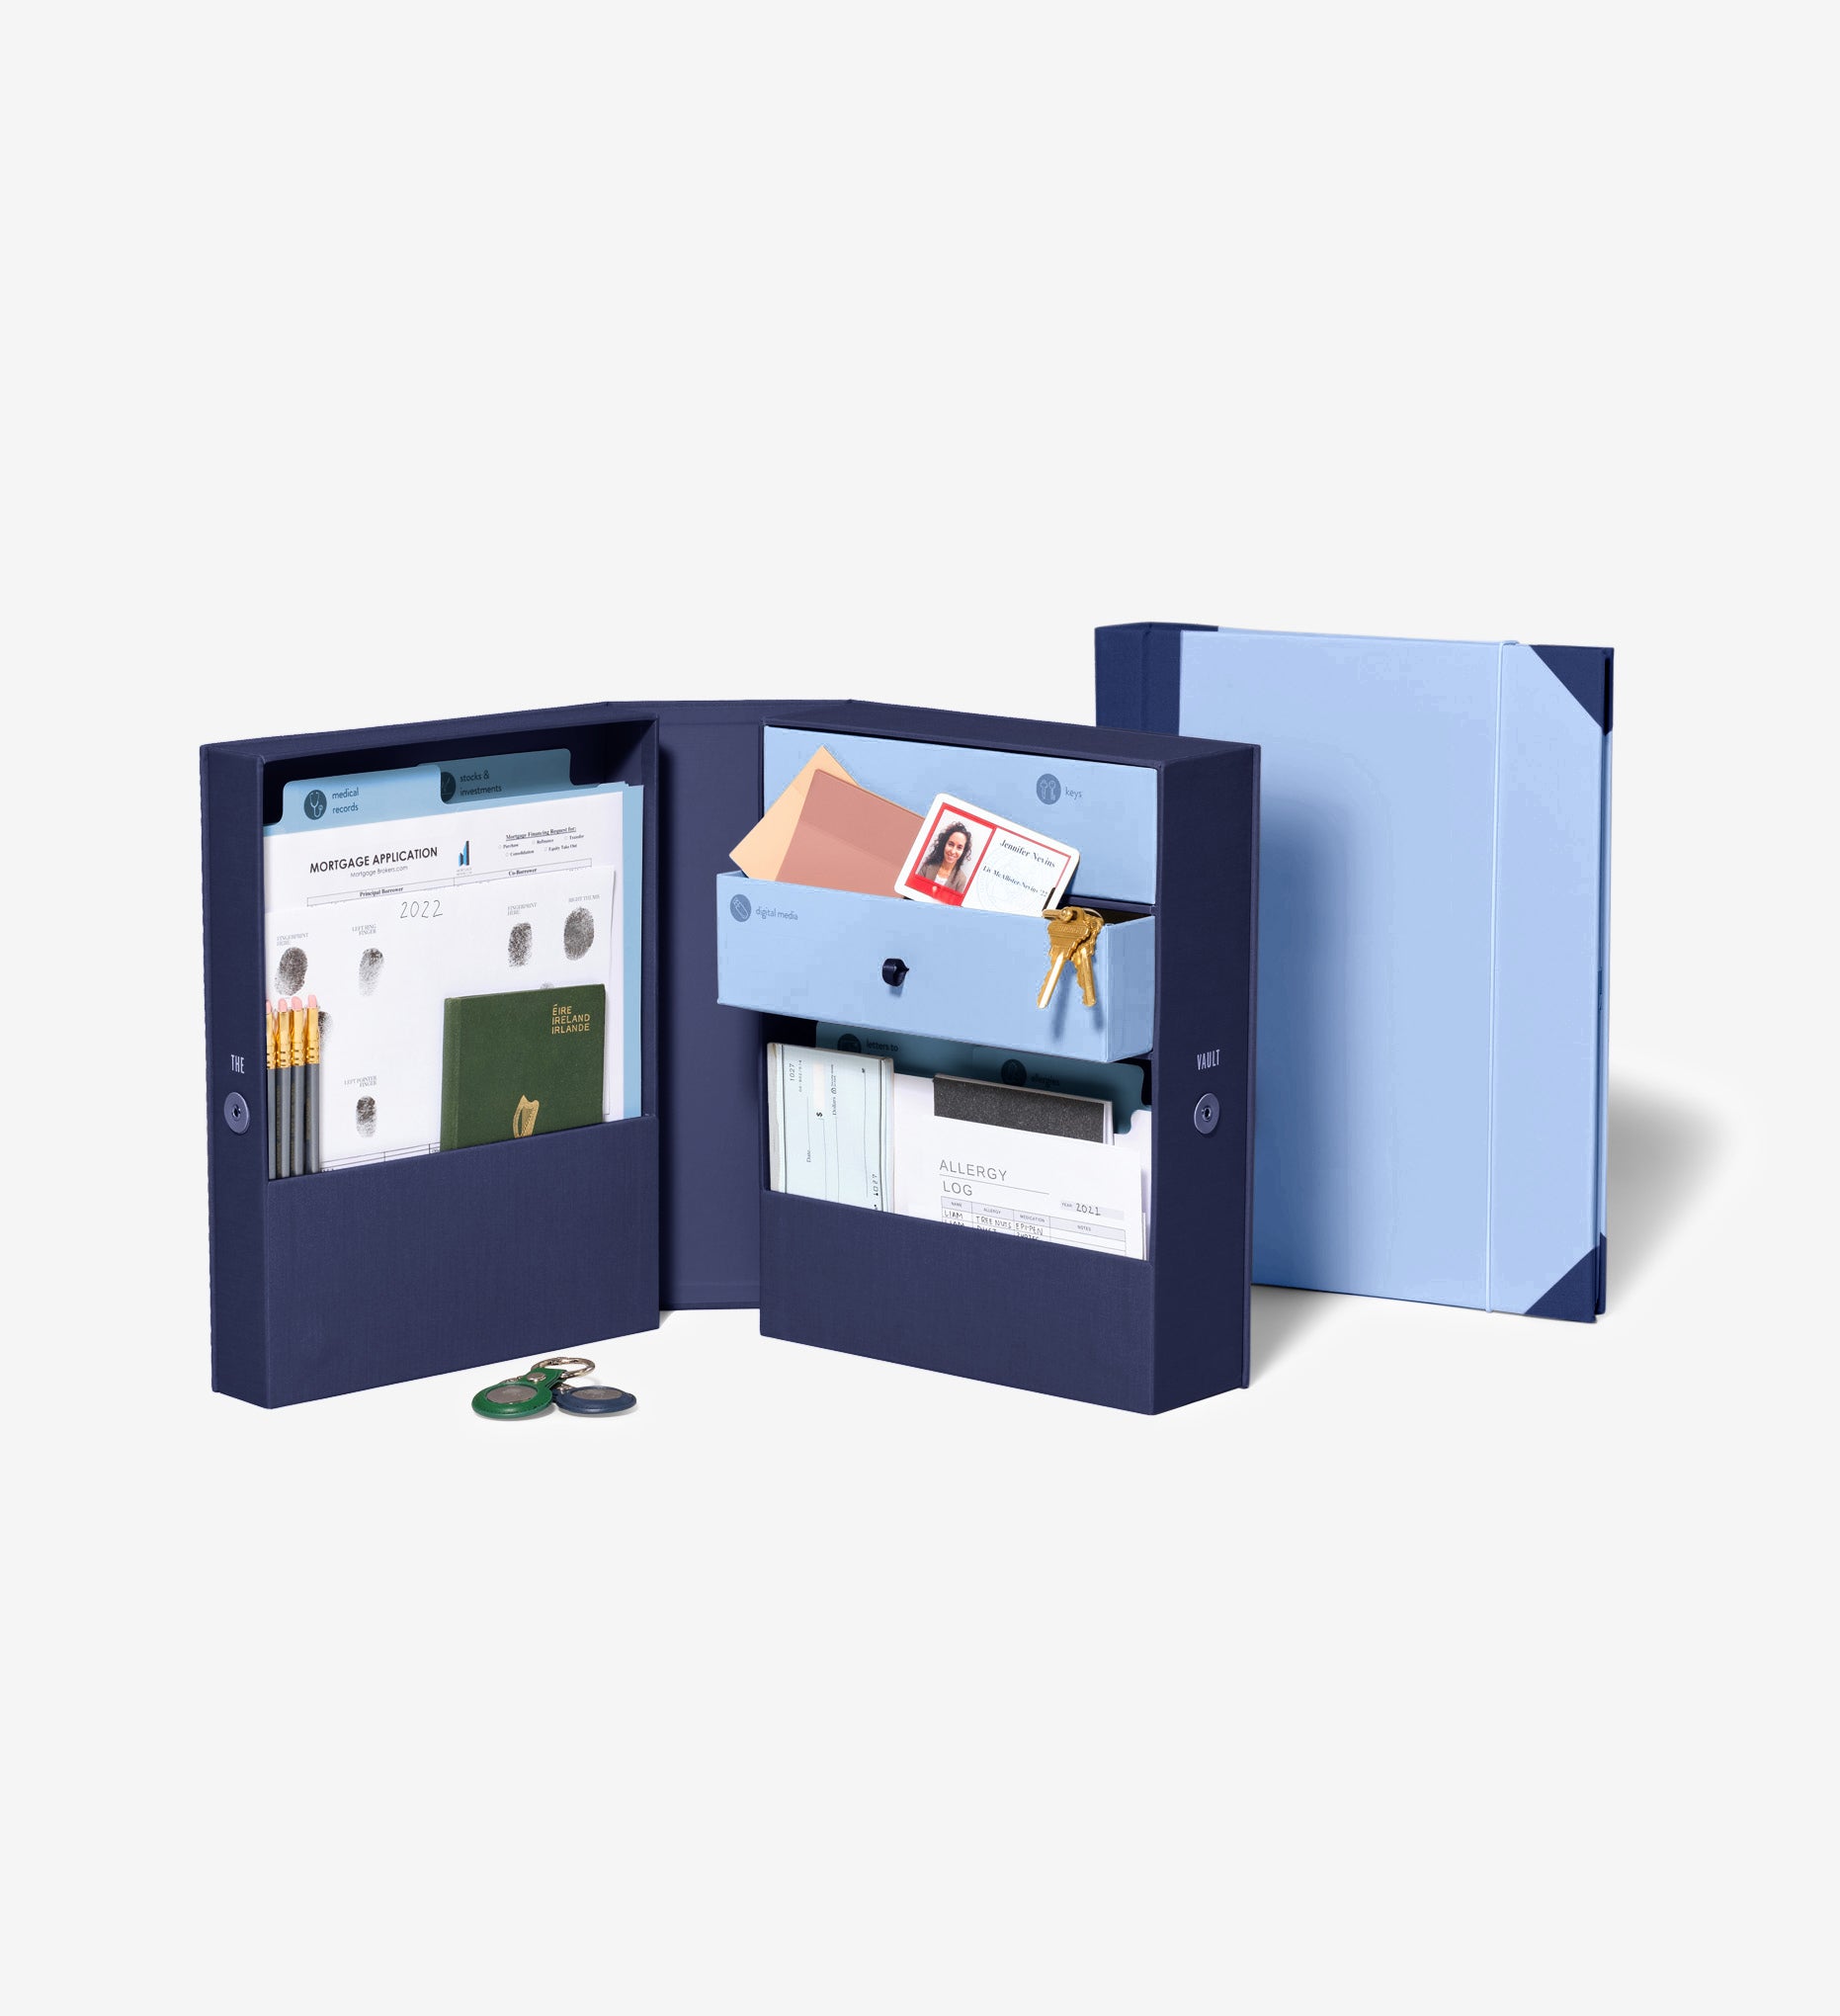
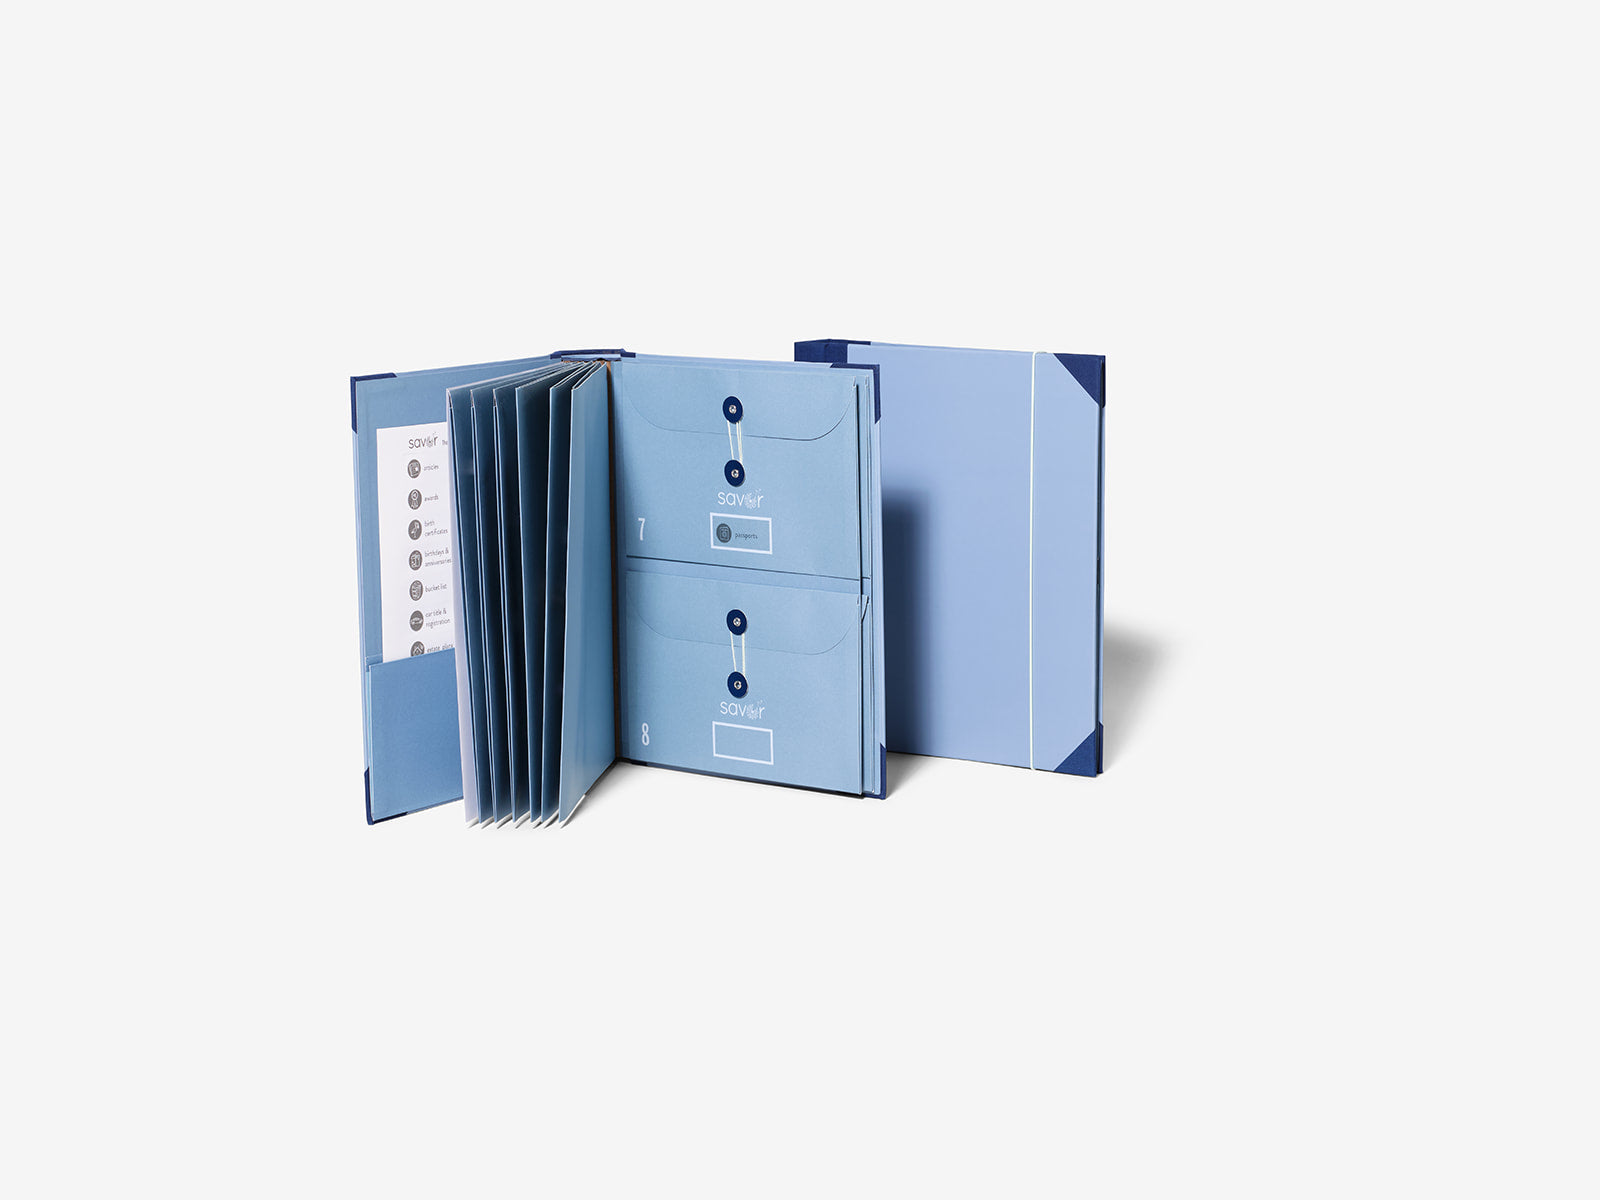
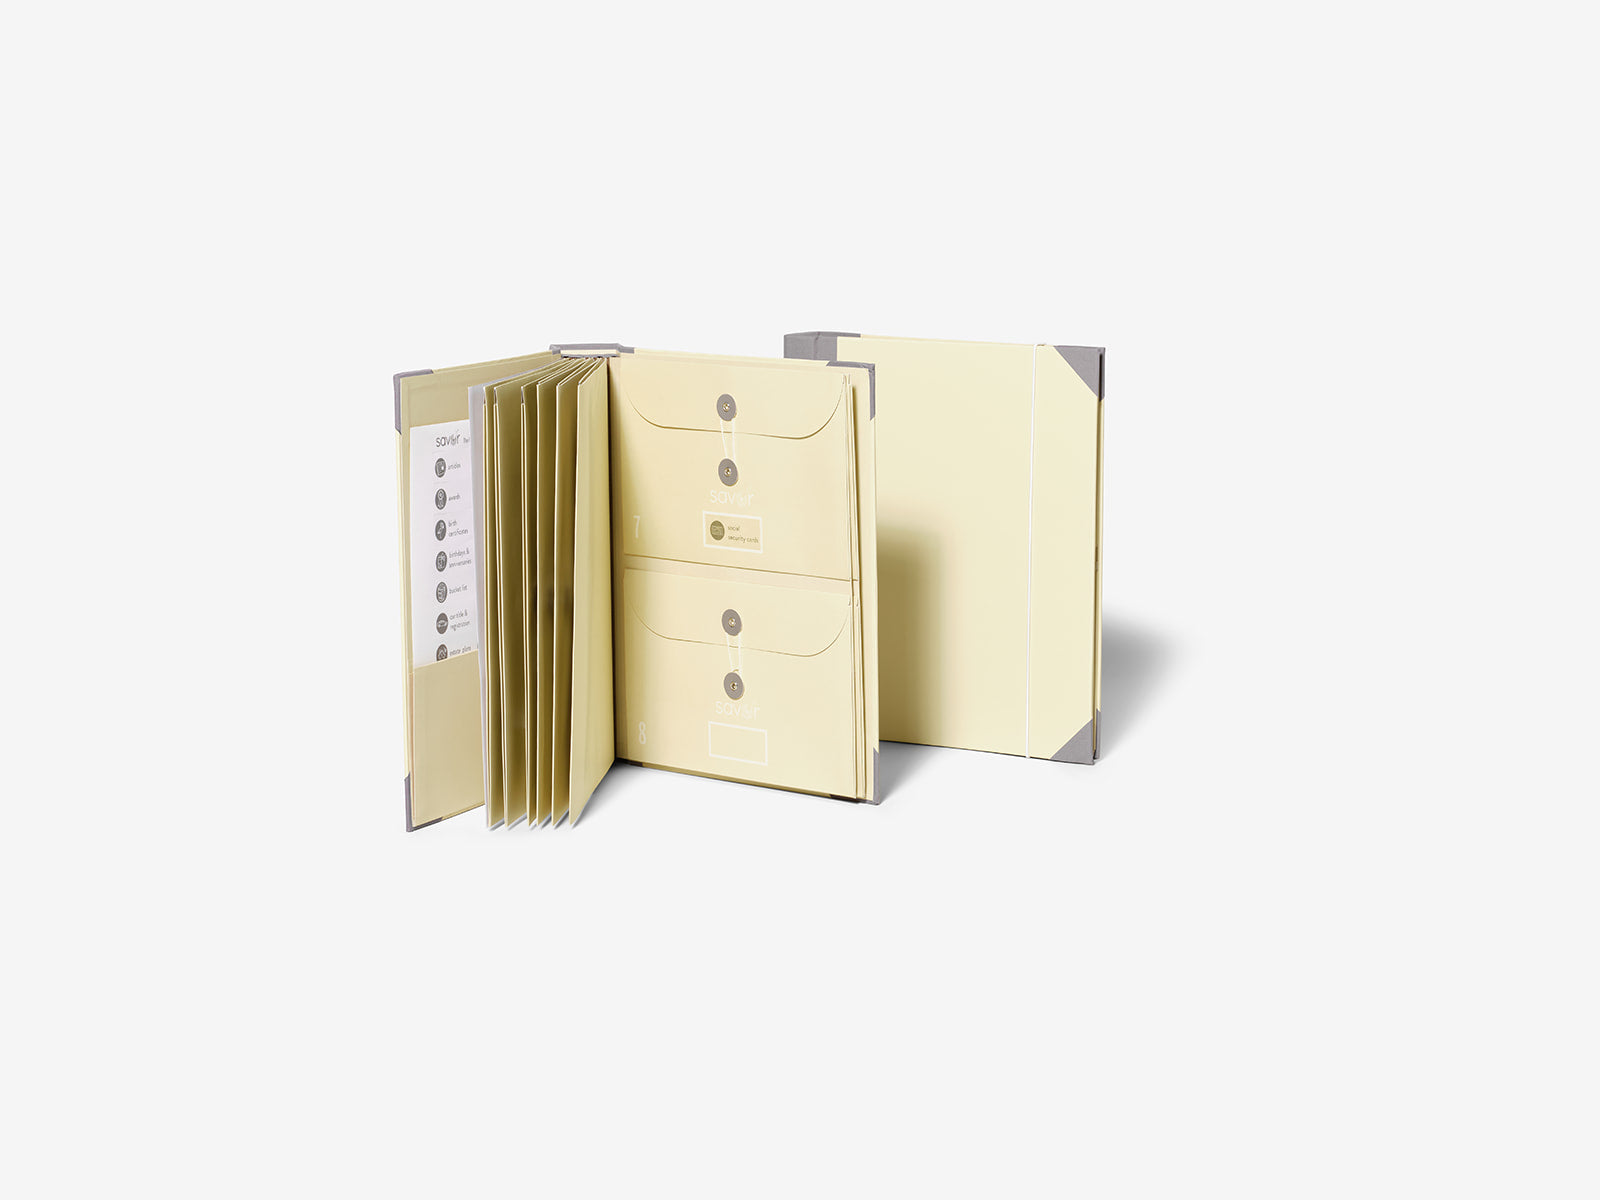
Once you have documented what you own, the Family Emergency Binder is a good place to keep a printed summary alongside your actual insurance policy, so both the inventory and the paperwork an adjuster will ask for live in the same grab-and-go place.
- Tags: organization